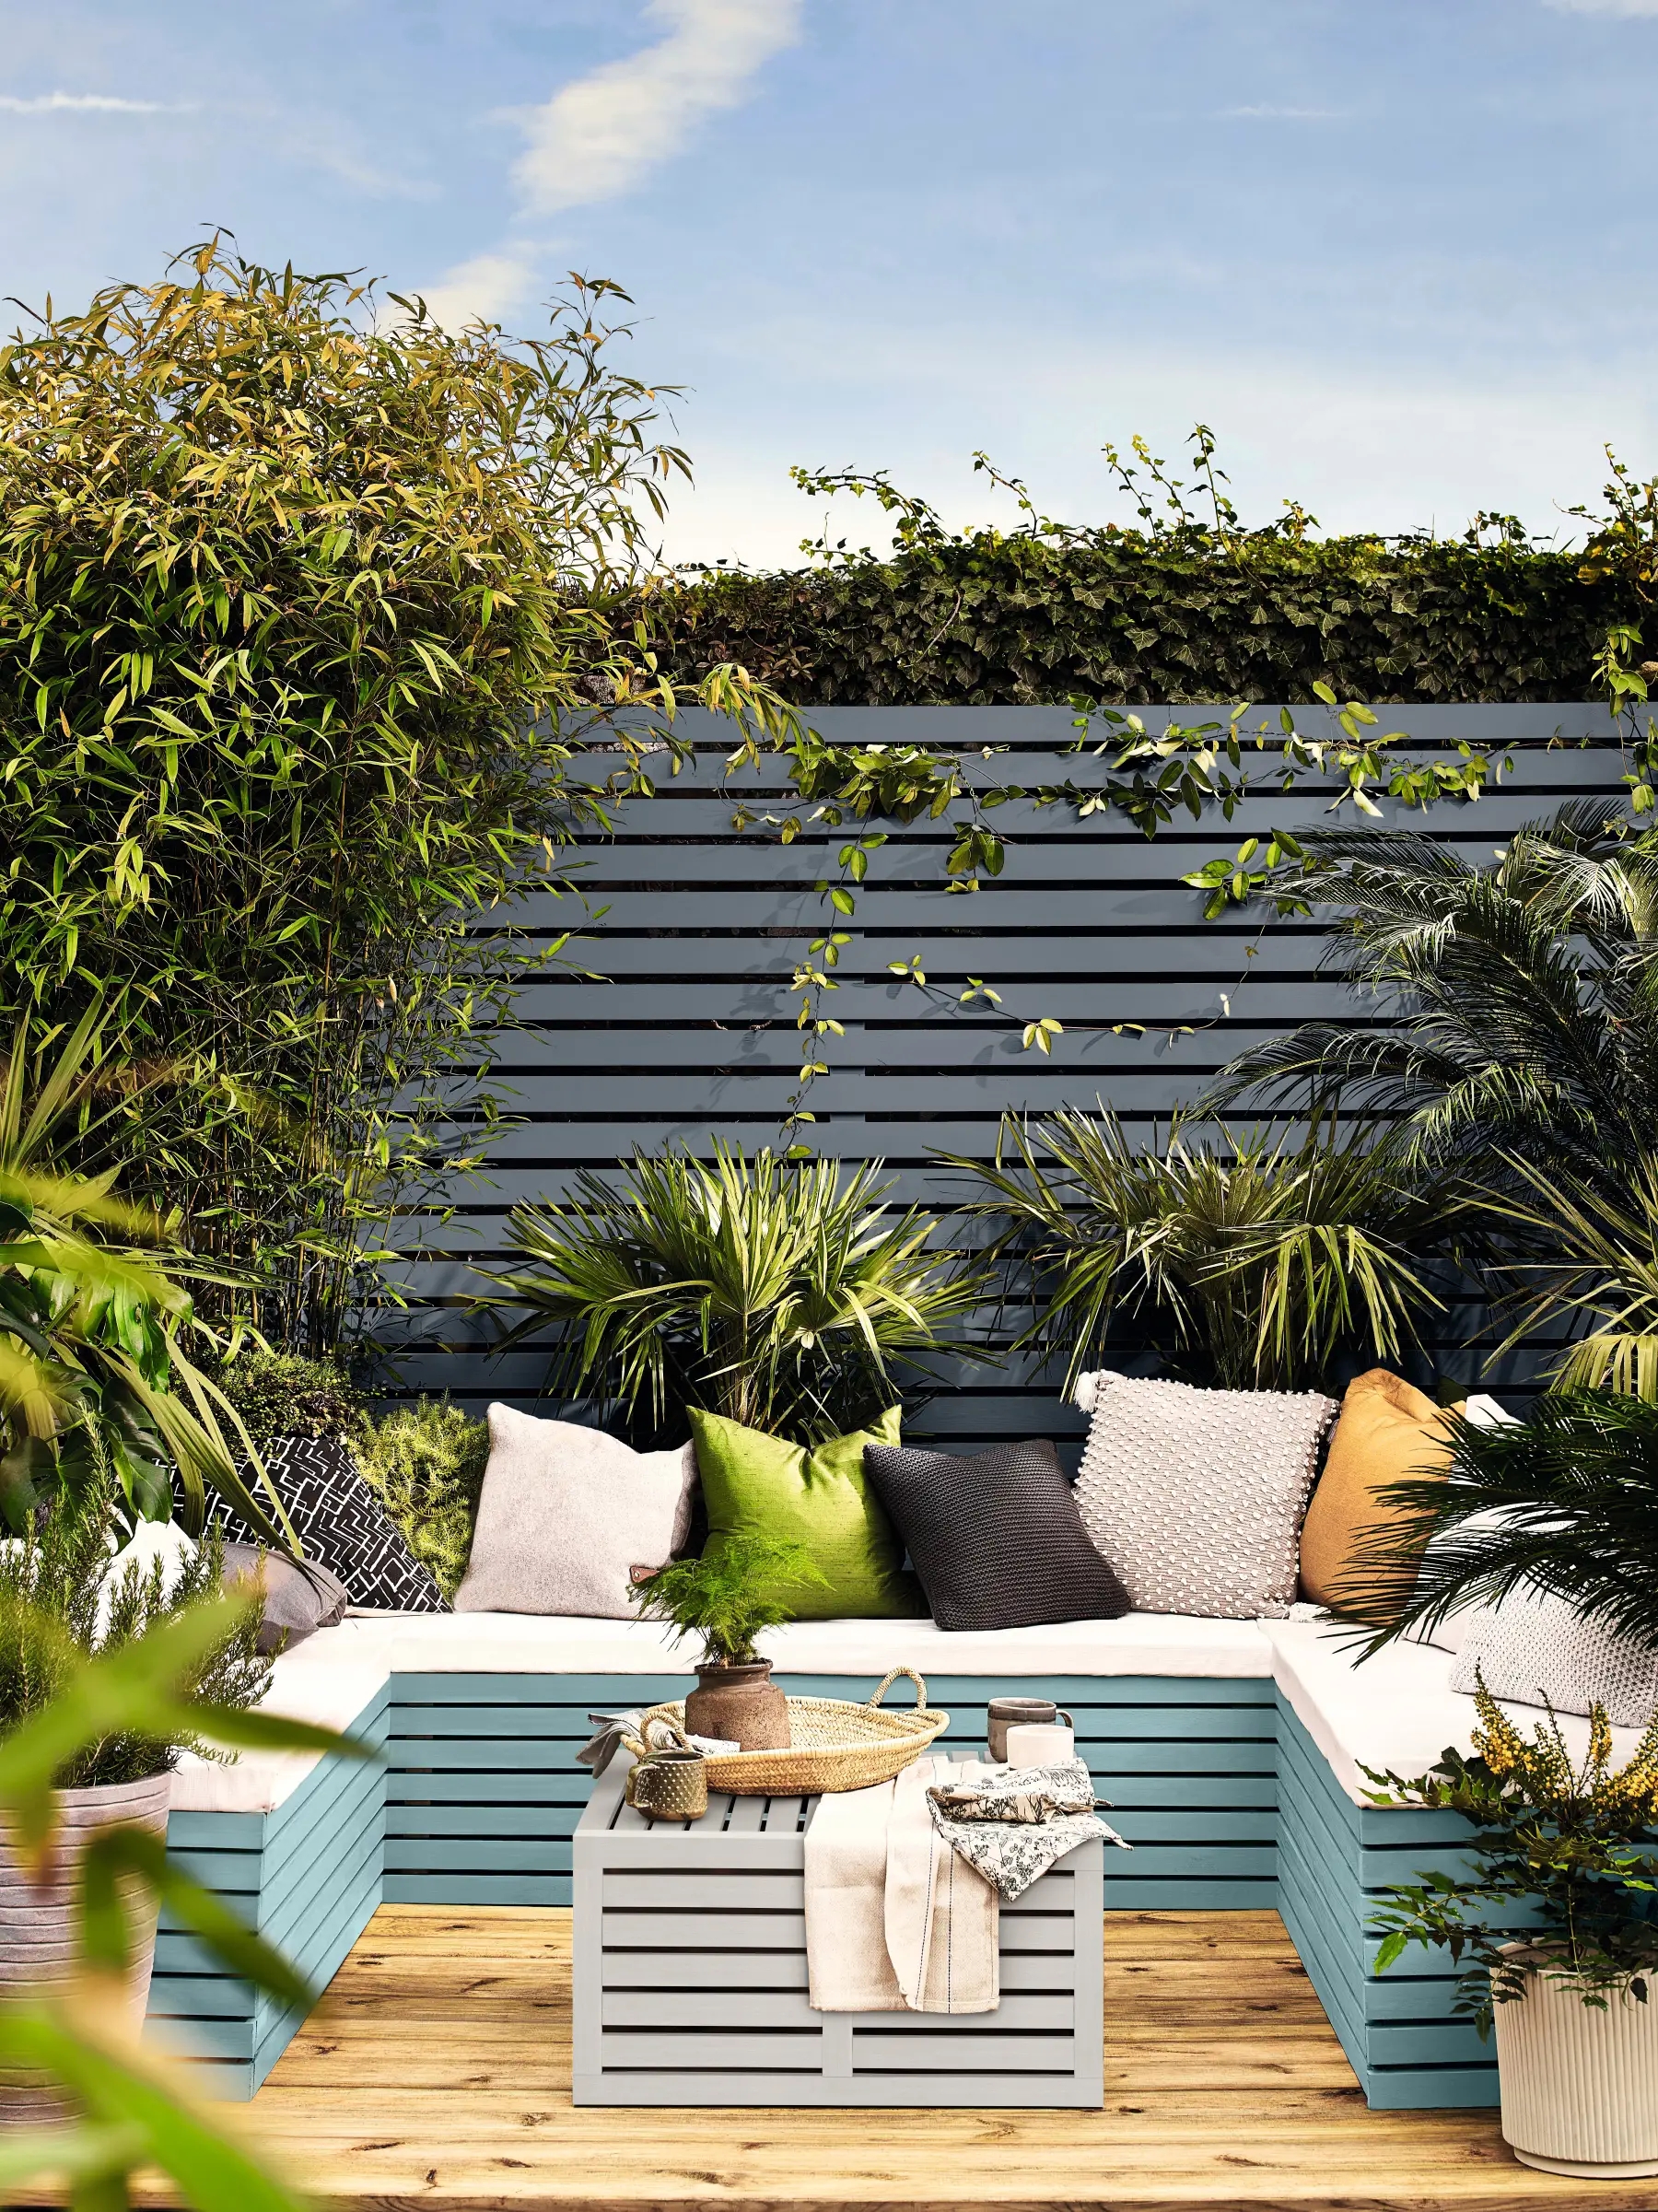

Give your garden a few more shades this spring with our NEW Garden Shades colours. A mix of easy-to-use Nature’s Neutrals and Nature’s Brights to add a pop of colour to our gardens
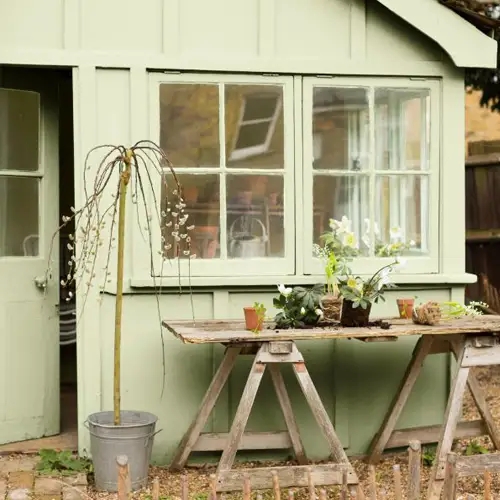
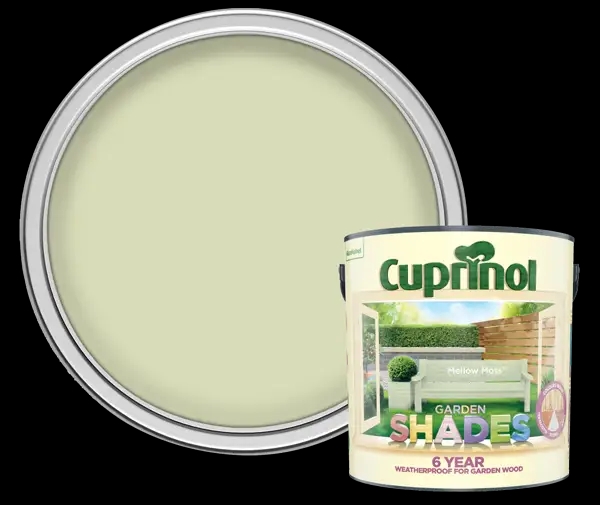
A gently sun-kissed light green which adds warmth. Great for areas that don’t get much light and north facing gardens.
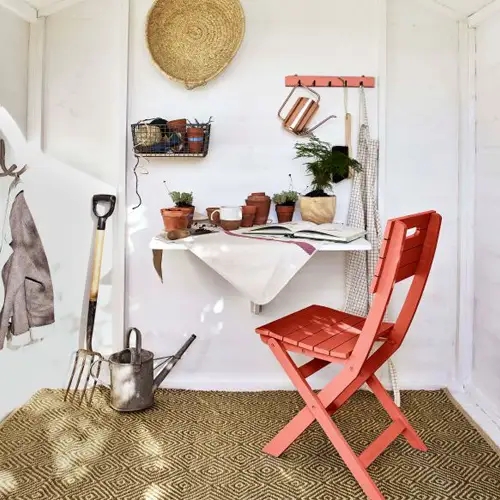
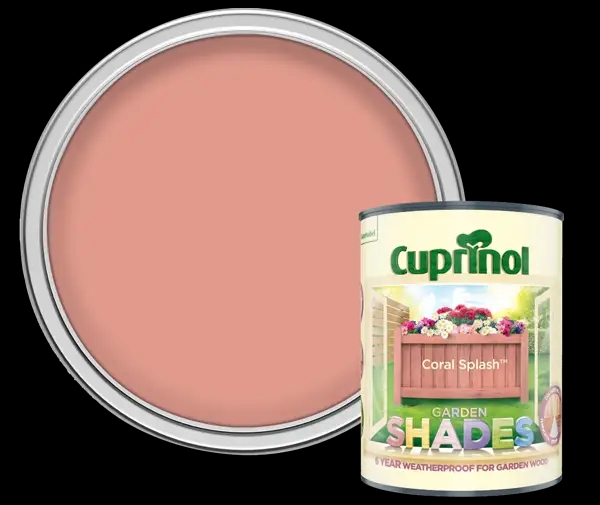
Coral splash is at the heart of the blooming palette – a vibrant blush peach which adds a touch of summer to the garden in every season.
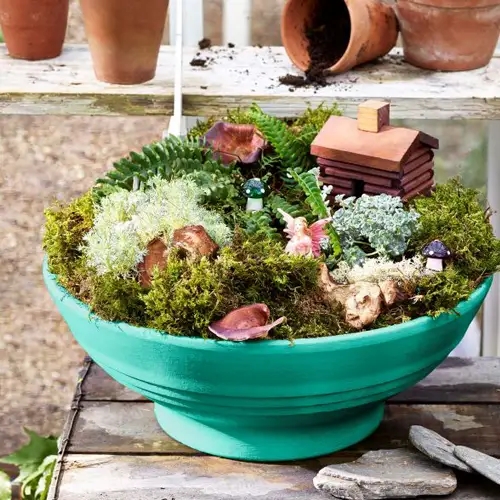
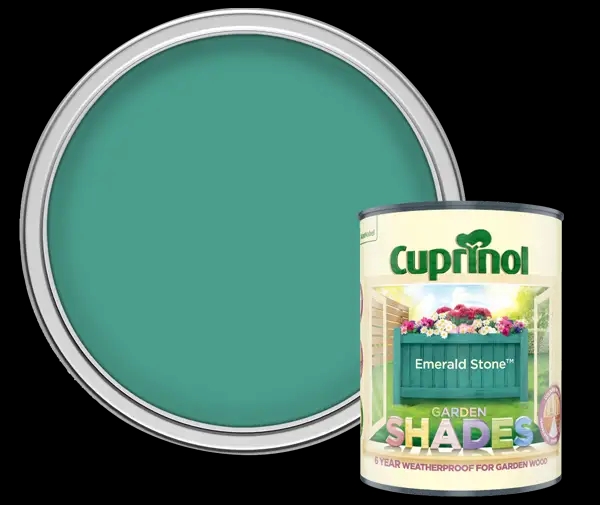
A modern Nature’s Bright – a crisp, clear emerald green that sits perfectly where you want to add a pop.

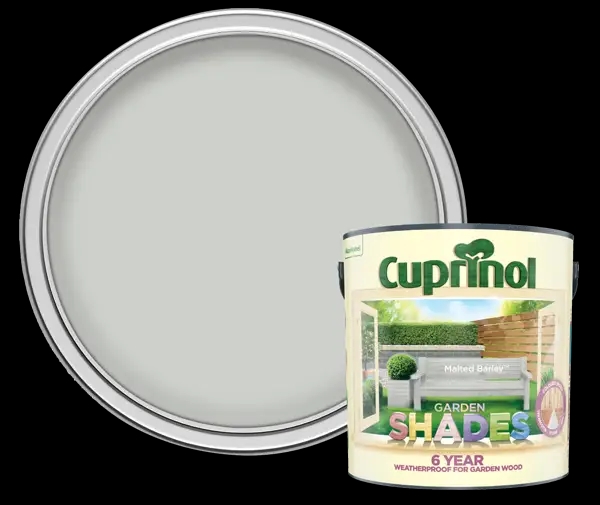
A soft, warm, chalky off-white that pairs with all other colours and adds a classic timeless look. A cooler and more urban version of our best seller Natural Stone.
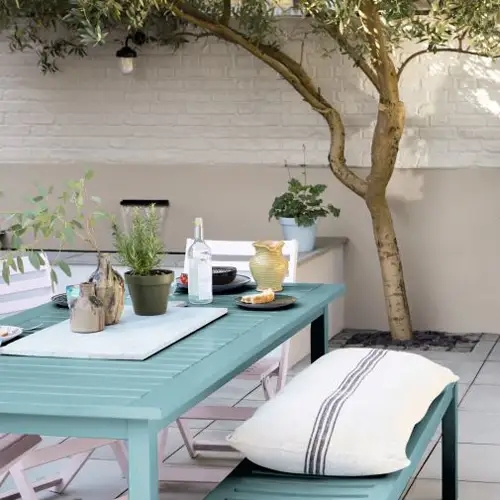
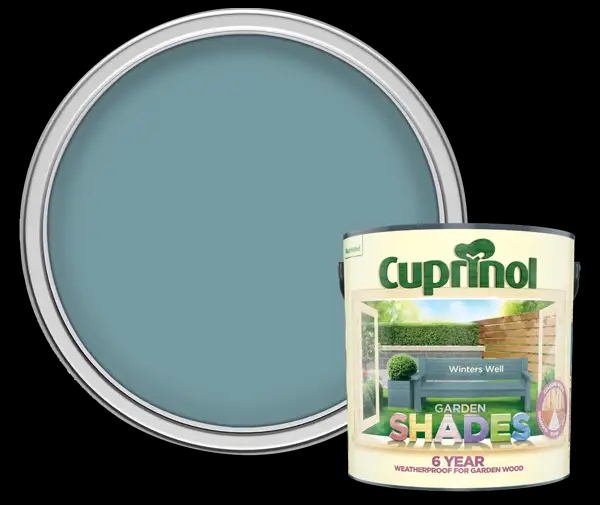
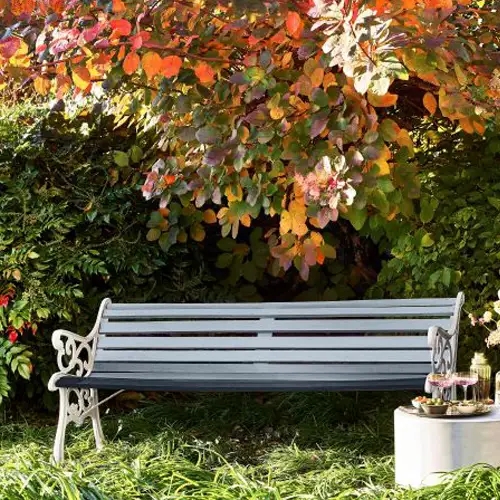
A cool, muted Nordic blue that adds a contemporary twist to traditional fencing, furniture and outdoor buildings.
A cool, sophisticated colour that works as a perfect backdrop to outdoor spaces filled with foliage plants, grasses and natural landscaping materials.


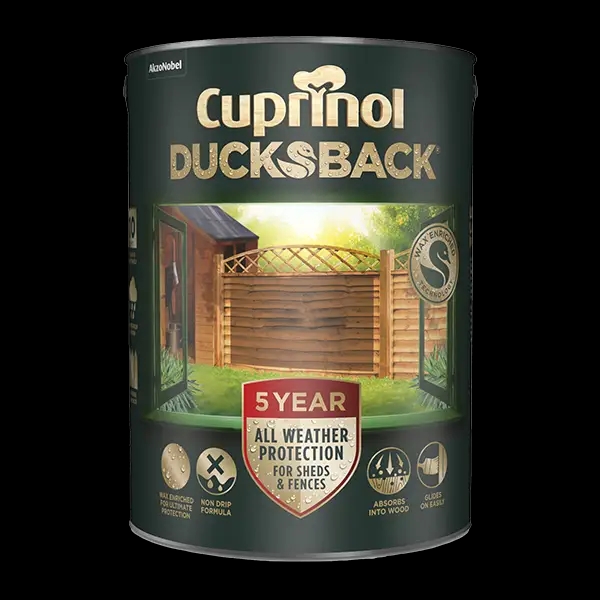
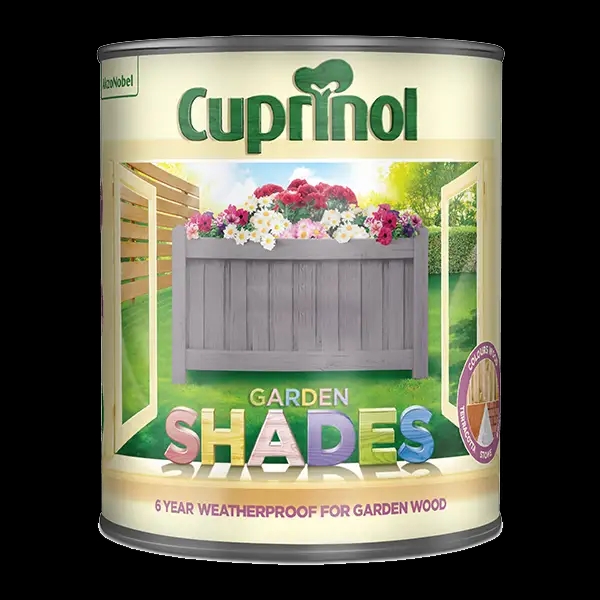
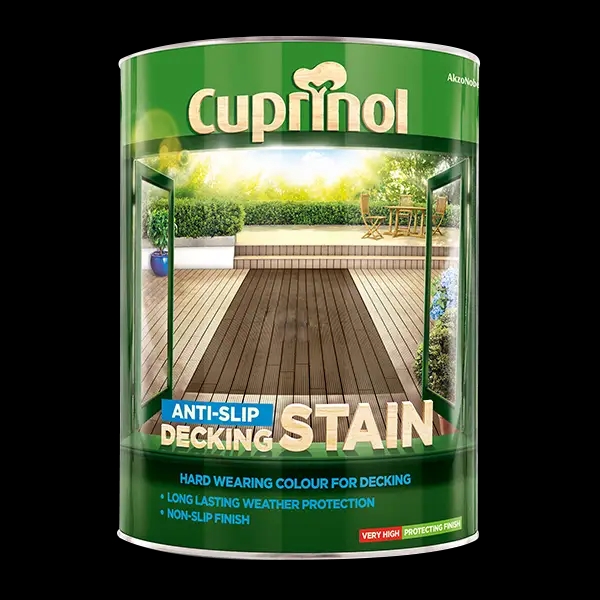
OUR GARDEN HEROES
Colour and protect your garden all year round